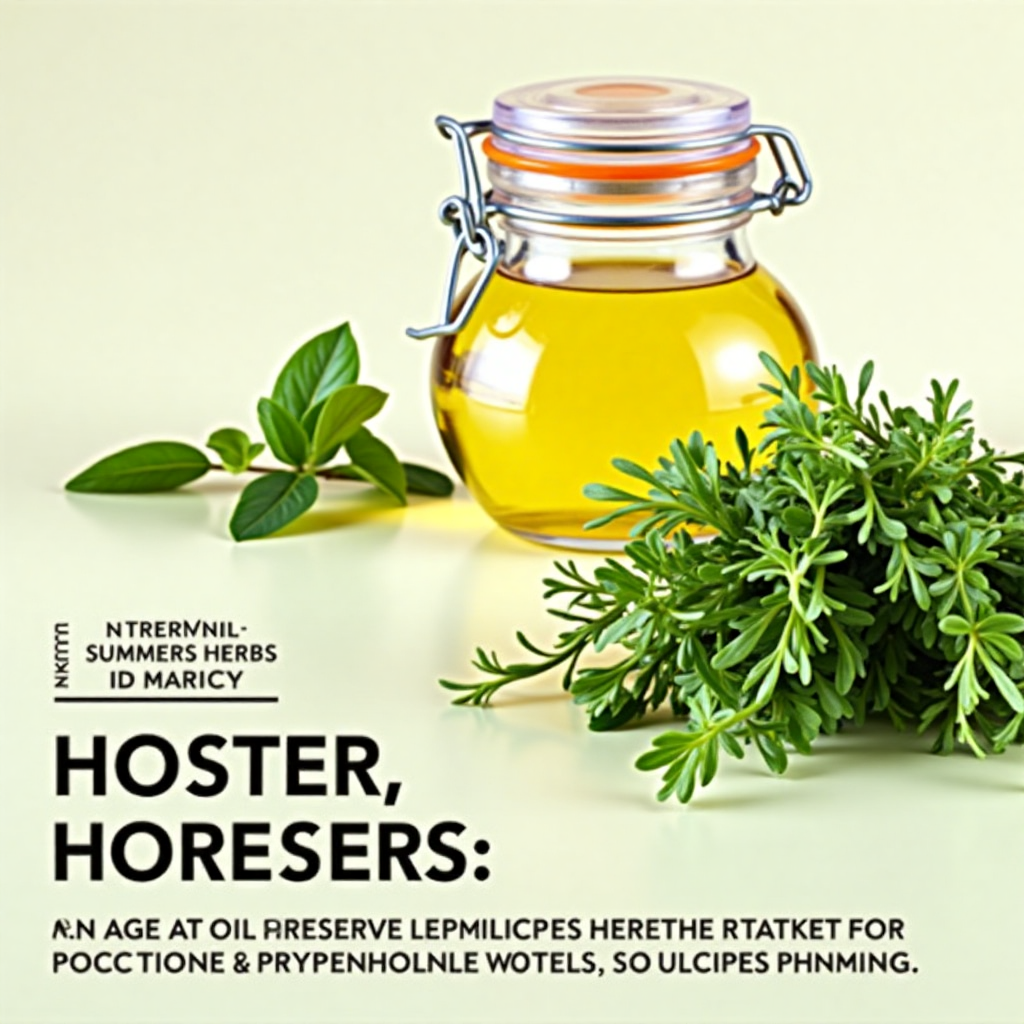
The scent of fresh basil, the zing of mint, the earthy depth of rosemary – herbs are the vibrant soul of countless dishes. But what happens when your garden overflows or that large bunch from the market starts to wilt before you can use it all? Freezing herbs in olive oil is a brilliant, simple, and incredibly effective preservation technique that locks in peak flavor and extends their culinary life far beyond their fresh state. Forget limp, flavorless herbs or the tedious task of drying; this method captures summer’s essence in convenient, flavor-packed cubes ready to elevate your cooking year-round. Let’s dive into the how and why of this fantastic kitchen hack.
Why Freezing Herbs in Olive Oil Works Wonders
Traditional freezing methods often lead to disappointing results with herbs. Their high water content causes ice crystals to form, rupturing cell walls and resulting in mushy, discolored, and bland leaves when thawed. This is where olive oil becomes the hero. Olive oil acts as a protective barrier, insulating the herbs from the harsh effects of direct freezing. It minimizes ice crystal formation, helping to preserve the cellular structure, vibrant color, and, most importantly, the volatile aromatic compounds that give herbs their distinctive flavor and fragrance.
Beyond protection, the olive oil itself brings significant benefits. It infuses beautifully with the herbs during the freezing process, creating a ready-made flavor base. This fusion means that when you pop out a cube, you’re not just getting herbs; you’re getting herbs suspended in a herb-infused oil. This dual-purpose ingredient is incredibly versatile, streamlining your cooking process. Think of it as a shortcut to depth of flavor – adding these cubes directly to hot pans for sautéing, stirring into soups and stews, or drizzling over finished dishes imparts both herbaceousness and rich, fruity olive oil notes in one go. It eliminates the need for separate chopping and measuring of both oil and herbs during busy meal prep.
Furthermore, this method is incredibly efficient and reduces waste. Instead of watching that beautiful basil turn black or that fragrant cilantro wilt, you can process large batches quickly. The frozen cubes provide portion control, allowing you to use exactly what you need without defrosting an entire container. It’s a practical solution for gardeners facing a surplus and for anyone who wants access to high-quality herb flavors outside the growing season. Unlike drying, which can alter flavor profiles and texture significantly, freezing in oil retains a remarkably fresh-like quality.
Getting Started: Selecting Herbs and Gathering Supplies
Not all herbs are created equal when it comes to freezing, but many popular culinary varieties excel using this oil-preservation method.
Best Herbs for Freezing in Olive Oil
- Basil: A prime candidate. Freezing preserves its bright, sweet-peppery flavor much better than drying. The oil prevents the dreaded blackening.
- Rosemary: Its sturdy needles freeze beautifully. The oil infusion mellows its intensity slightly.
- Thyme: Delicate leaves hold up well. Freezing captures its earthy, slightly floral notes.
- Oregano: Both Mediterranean and Mexican varieties freeze successfully, retaining their pungent character.
- Sage: Its velvety leaves freeze nicely. The oil complements its warm, slightly peppery flavor.
- Chives: Chopped chives freeze well in oil, though they may lose some crispness.
- Parsley: Both flat-leaf (Italian) and curly parsley freeze decently, best used cooked.
- Cilantro (Coriander):strong> Freezing helps retain its unique flavor profile, which is often lost in drying.
Herbs to Handle with Caution (or Avoid)
- Mint: Can be frozen in oil, but its flavor is potent; use sparingly in cubes.
- Dill: Freezes okay, but its delicate fronds can become limp; best used in cooked applications.
- Tarragon: Similar to dill, it can work but may lose some texture.
- Delicate Leafy Herbs (e.g., Chervil, Lemon Balm): These are generally less suitable as they can become mushy.
Essential Equipment
- Ice Cube Trays: Silicone trays are ideal because they are flexible and make popping out frozen cubes effortless. Standard plastic trays work too. Ensure they are clean and dry.
- Freezer Bags or Airtight Containers: For storing the frozen cubes long-term. Opt for high-quality, thick freezer bags or sturdy containers to prevent freezer burn.
- Sharp Knife or Herb Scissors: For finely chopping the herbs.
- Cutting Board
- Measuring Spoons (Optional): Helpful for consistent portions.
- Labels and Marker: Crucial for identifying herb types and dates once frozen!
Step-by-Step Guide: Freezing Herbs in Olive Oil
This process is wonderfully straightforward, but attention to detail ensures the best results.
1. Prep Your Herbs
Begin by giving your herbs a thorough rinse under cool running water to remove any dirt, grit, or tiny insects. Gently pat them dry with a clean kitchen towel or salad spinner. Excess water is the enemy here – it can lead to ice crystals and compromise the texture. Once dry, remove any tough stems. For woody herbs like rosemary, thyme, or oregano, you’ll primarily use the leaves. For softer herbs like basil, parsley, or cilantro, you can include the tender stems if desired. Finely chop the herbs. The size is up to you, but a finer chop allows for more even distribution in the oil and integrates better when used later. Aim for pieces small enough to fit comfortably into your ice cube tray compartments.
2. Fill the Ice Cube Trays
Take your clean, dry ice cube trays. Sprinkle a generous layer of chopped herbs into each compartment. Don’t pack them down tightly, but ensure a good base layer. There’s no exact science to the herb-to-oil ratio, but a good rule of thumb is to fill each compartment about 1/3 to 1/2 full with herbs. Next, pour your chosen olive oil over the herbs. Use enough oil to completely cover the herbs and fill the compartment nearly to the top. As the herbs settle and the oil is absorbed, you might need to add a touch more oil to ensure coverage. Gently tap the tray on the counter to release any air bubbles and help the oil seep into the herbs. Avoid overfilling, as the oil will expand slightly when frozen.
3. Freeze Solid
Carefully transfer the filled ice cube trays to a flat surface in your freezer. Ensure they are level to prevent spilling. Allow them to freeze completely. This typically takes 4 to 6 hours, but leaving them overnight is safest. The cubes should be frozen rock solid – no liquid oil remaining.
4. Pop, Store, and Label
Once fully frozen, remove the trays from the freezer. If using silicone trays, flexing them gently should release the cubes easily. For plastic trays, you might need to let them sit at room temperature for just a minute or run the bottom briefly under warm water to loosen them. Immediately transfer the frozen herb-and-oil cubes into labeled freezer bags or airtight containers. Labeling is absolutely essential! Write the type of herb and the date on the bag or container. Squeeze out as much air as possible from freezer bags before sealing to minimize freezer burn. Return the containers or bags to the freezer for long-term storage.
Creative Variations and Tips for Success
While the basic method is superb, you can experiment to suit your culinary style.
Beyond the Basics
- Herb Combinations: Create flavor blends! Try basil and oregano for an Italian flair, rosemary and thyme for a Provençal touch, or cilantro and a hint of lime zest for a Mexican kick. Ensure the herbs you combine freeze well individually.
- Add Garlic: Minced garlic cloves can be added to the herb-oil mixture before freezing (e.g., basil + garlic is classic). Be aware garlic’s flavor can intensify in the freezer.
- Citrus Zest: A little finely grated lemon, lime, or orange zest added to herbs like thyme, rosemary, or cilantro can add a bright note.
- Different Oils: While extra virgin olive oil is the gold standard for flavor, you can experiment with milder olive oils or even other oils like avocado oil for a different taste profile.
- Alternative Molds: Don’t limit yourself to cubes! Use silicone mini-muffin tins for larger portions, or even small jars (leave ample headspace for expansion).
Pro Tips for Optimal Results
- Quality Matters: Start with the freshest herbs possible. Wilting or bruised herbs won’t magically improve in the freezer.
- Dry Thoroughly: Reiterating – moisture is the biggest threat to texture. Take the time to dry those herbs well.
- Use Good Oil: Since the oil is a key component of the final product, use an extra virgin olive oil you enjoy the taste of. It doesn’t need to be the most expensive, but avoid rancid or low-quality oils.
- Don’t Overcrowd: While you want a good amount of herbs, packing the compartments too tightly can make it hard for the oil to fully penetrate and protect.
- Label Immediately: Frozen green cubes in a bag all look remarkably similar. Label as soon as you transfer them to avoid mystery herbs later!
- Storage Duration: Frozen herb cubes are best used within 6 months to a year for optimal flavor, though they remain safe beyond that. The sooner you use them, the brighter the flavor.
Unlocking the Flavor: How to Use Your Frozen Herb Cubes
Your frozen herb-and-oil cubes are versatile powerhouses waiting to enhance your meals. Here’s how to unleash their potential:
Straight from Freezer to Pan
This is arguably the best and easiest way to use them. Add one or more cubes directly to a hot skillet or saucepan when starting a recipe. As the cube melts, the oil coats the pan, and the herbs begin to release their aroma – instantly creating a flavorful foundation for sautéing onions, garlic, vegetables, or meat. It’s perfect for starting pasta sauces, soups, stews, stir-fries, scrambled eggs, or sautéed greens.
Melting into Simmering Dishes
Toss frozen cubes directly into soups, stews, braises, sauces, or chili during the cooking process. The heat will melt the cube, dispersing the herb flavor and oil throughout the dish. Add them in the last 10-20 minutes of cooking for a fresher herb note, or earlier if you want the flavors to meld more deeply. They work beautifully in marinara sauce, minestrone, bean soups, or pot roasts.
Adding Finishing Touches
While not as common as cooking *with* them, you *can* use thawed cubes as a finishing element. Let a cube thaw slightly or completely in the refrigerator (it will be a soft herb paste). Drizzle this flavorful oil and herb mixture over cooked vegetables, grilled meats or fish, pizzas, pasta, or even roasted potatoes just before serving. The gentle warmth of the food will help release the aromas.
Substituting for Fresh
As a general guide, one standard ice cube (about 1 tablespoon volume) is roughly equivalent to 1 to 2 tablespoons of chopped fresh herbs *plus* the oil it’s suspended in. Remember, the oil is part of the ingredient! You may need to adjust the amount of additional oil or fat called for in a recipe when using these cubes. Taste as you go, especially when first experimenting. The flavor is potent and delicious, but slightly different from fresh – it’s an infused, cooked-herb flavor.
Conclusion: A Simple Path to Year-Round Herb Goodness
Freezing herbs in olive oil is more than just a kitchen trick; it’s a practical, flavorful, and resourceful way to capture the vibrant essence of the harvest. By protecting delicate herbs within a shield of oil, we defy the limitations of the season and enjoy garden-fresh flavors even in the depths of winter. The process is simple, requiring minimal equipment and time, yet the rewards are immense. From the convenience of popping a pre-portioned cube into a simmering pot to the depth of flavor it instantly adds, this method streamlines cooking and reduces waste. Whether you’re a gardener preserving your bounty or a cook seeking reliable herb flavor, embrace the magic of herbs frozen in olive oil. It’s a small step in preparation that yields significant dividends in deliciousness throughout the year.